 This article needs illustrations. You can help by providing them.
This article details the various turrets and weapon types found in space combat (incl. the Battle of Yavin).
Munitions[]
- The contents of this section is still being researched. You can help by filling in fields marked with question marks ("????").
Laser Cannon[]
- Maximum range: ???? meters.
- Firepower: Varies.
Laser cannons are the most commonly fired weapons in Star Wars - likewise in First Strike. Imperial starfighters and capital ships discharge green laser bolts, while Rebel ships tend to use weapons that produce red projectiles. Unlike ion cannons, which require recharging periodically, fighter-mounted laser cannons can be fired indefinitely, though pilots are advised to hold their fire until they have the enemy in their crosshairs so as to maintain their stealth element, and because the strength of each bolts quickly dissipates over distance.
The strength and rate of fire of laser cannons depends largely on the vehicle firing them. Starfighters typically have rapid-firing, low-strength cannons for use against other fighters, while larger craft such as the Lambda shuttle have heavier weapons with a slower firing rate. These cannons may also overheat if fired for too long.
Pneumatic Cannon[]
- Maximum range: ???? meters.
- Firepower: Low.
The T-16's pneumatic cannon has a slow firing rate, but does more damage than regular laser cannons found on most starfighters.
Light Ion Cannon[]
- Maximum range: ???? meters.
- Firepower: Special, see text.
Y-Wings and B-Wings are armed with light ion cannons that can discharge light blue ion bolts in quick succession. The ion bolts behave like the EMP weapons in vanilla Bf2142, temporarily disabling a fighter or ship's ability to move, turn, or traverse its turrets. Ion weapons can be highly useful to prevent heavily armed ships from tracking fighters with their turrets, and to keep agile fighters from leaving their enemies' crosshairs.
Heavy Ion Cannon[]
- Maximum range: ???? meters.
- Firepower: Special, see text.
The TIE Bomber deployed in the Battle of Taloraan is armed with a heavy ion cannon that can only be fired twice before requiring recharge. These weapons have a far more crippling effect than do light ion cannons - a single hit takes away a fighter's flight control and engine power for several seconds.
Concussion Missile[]
- Lock-on range: 900 meters.
- Maximum range: ???? meters.
- Firepower: Low.
Concussion missiles are homing projectiles carried by TIE Defenders and A-Wings, as well as, on ground maps, AT-STs and T1-B hover tanks. The missiles are mainly used against infantry, but Rebel tanker doctrine calls for the use of missiles against Firehawke tanks at point-blank range, and the missiles do severe damage to light vehicles and exposed infantry as well. The missiles are incapable of locking on to ground targets, but if released within 900 meters of a starfighter, they will track that target until they run out of fuel. When fired in numbers, they are very successful at destroying their prey.
Proton Torpedo[]
- Maximum range: 1400 meters (forward-firing only, see text).
- Optimum range (maximum damage within): 600 meters.
- Firepower: High.
Proton Torpedoes are anti-capital ship projectiles used on capital ships and ground targets. With their long range and high blast power, they've become very common in the arsenal of both the Rebellion and Empire. Typically only fighters are given proton torpedo launchers, the only exception in First Strike being the Imperial Carrack-class Light Cruiser, which has four forward-firing proton torpedo tubes. Proton torpedoes can easily be identified as relatively slow-moving red orbs. Proton torpedoes given Y-Wings in the Battle of Ryloth are programmed to travel straight down when fired, allowing pilots to deploy them as they would free-falling bombs.
Proton Bomb[]
- Maximum range: 600 meters.
- Firepower: Very High.
The proton bomb is a heavy projectile carried by TIE Bombers. Their short range makes it far more risky for pilots to use them than proton torpedoes. Unlike TIE Bombers with proton torpedoes, TIE Bombers with Bombs can change the firing direction of their bombs and make them "drop" straight down from the ship instead of firing forward: toggle the firing mode by hitting the Toggle Weapons key (F by default). The bombs have a blue-ish tone and, when impacting an enemy ship, produce a sound akin to that made by ion cannons, but they do not have an "EMP effect" on enemy ships - they deplete the ship's hit point pool only.
Equipment[]
Scanner[]
Capital ships and freighters come equipped with sensors which scan their vicinity for enemy fighters - these will be visible on the minimaps of all friendly players. In addition, the long-range scanners track all freighters and capital ships in the combat area - these will be rendered as icons on the 3D map (def. ALT) and minimap of all friendly units. Fighting within the scanning range of a friendly capital ship is encouraged and highly recommended, as you will be able to track all enemy fighters in the vicinity of the ship and engage accordingly.
IFF/Targeting Computer/RWR[]
All fighters and starships have on-board IFF/targeting computers which identify all contacts in front of the ship as friendly or hostile. Fighters and transport craft identified as hostile will appear in brackets, while friendlies will appear in brackets with crosses. These brackets are not aiming guides; pilots will have to pull lead on targets without targeting computer assistance. Fighters also have Radar Warning Receivers that detect incoming enemy missiles and warn the pilot with a beeping tone and crosshairs icon.
Emergency Shield Booster[]
While all capital starships and many fighters come with deflector shields that augment their ability to resist damage, Freighters are equipped with emergency shield boosters that their captains can engage by holding Primary Fire (def. Left Mouse Button) and Secondary Fire (def. Right Mouse Button), which supercharge the dorsal and ventral deflector shields, respectively. The boosted deflector shields will shrug off any damage from weapons fire or collisions, but the shield booster for each shield area can only be active for up to 30 seconds total and cannot be recharged once depleted. Captains should use them sparingly.
Supplies[]
Friendly units within a certain range of a freighter are automatically resupplied with warheads, ion bolts, and repaired. This makes freighters incredibly valuable, so they should be protected at all costs. Players should also note that resupplies and repairs take a moment, and that they will be vulnerable during this time. Repairs and resupplying should thus not be undertaken with hostiles in the area.
Engine Boost[]
Captains and pilots can temporarily increase their ships' speed by holding the Boost key (def. Shift). Freighter and capital ship CO's should be judicious in its use; a few seconds of boost may take minutes to recharge.
Weapon Emplacements[]
1.4 FD P-Tower laser cannon[]
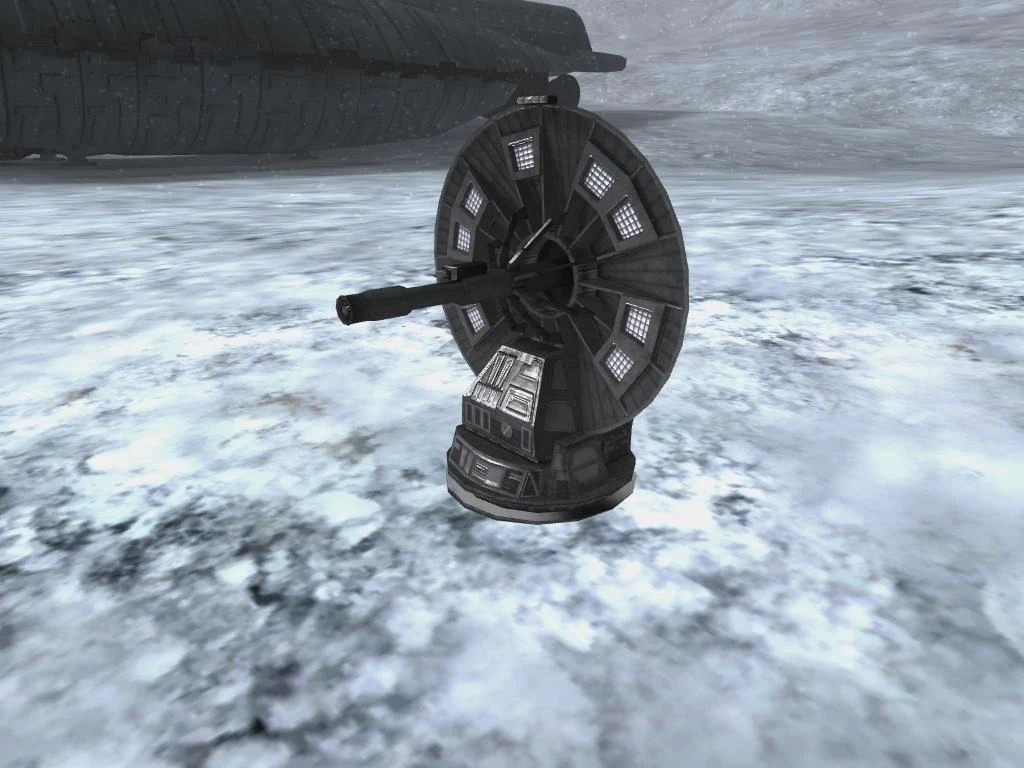
This dish-shaped gun has a slow firing rate, but far more firepower than the DF.9.
DF.9 anti-infantry battery[]

The DF.9 is armed with a single laser cannon with a moderate firing rate. It's useful against infantry, but less so when faced with walkers or armour.
ISD Main Turbo Laser Battery[]

The Star Destroyer has two lines of four AI-controlled heavy batteries near its bridge tower. These powerful guns, intended for bombardment and capital ship-scale combat, tear apart starships and transports in literally seconds, but are highly ineffective against starfighters, which can safely disable them with proton torpedo attacks.
Heavy Turbolaser Turret[]
Heavy Turbolaser turrets are equipped by most ships of the line in both faction's space navies, effective for use against other starships. They are too inaccurate to be effectively employed on starfighters and bombers, however. The Nebulon B Frigate features a quad Turbolaser battery on the bottom of the ship's bow, locked in a forward facing and fired by the driver, that can double the ship's effective anti-ship firepower when the Frigate is heading toward it's target.
Twin Anti-Starfighter Turret[]

These twin-barreled laser turrets are used against enemy starfighters. They do only light damage to larger craft unless fired for a prolonged time.
Quad Anti-Starfighter Turret[]

A pair of these turrets are mounted on the Rebels' Gallofree Medium Transports and, for a movie reference, on the famous Millennium Falcon. Their quad-barrel design makes them highly useful against fighters, but they lack the firepower to take on larger ships.
Turbolaser Turret[]

AI-controlled defensive turret, encountered on Star Destroyers and the Death Star's surface. Their weapons are lethal to starships and starfighters alike, but will have difficulty tracking fighters except at close range.
Ion Turret[]

AI-controlled defensive turret, encountered on Star Destroyers. This anti-starship turret fires heavy ion bolts that cripple enemy ships' systems, causing them to lose speed and rendering them temporarily unable to maneuver or traverse their weapons.
Turbo Laser Tower[]


Turbo laser towers of various shapes can be found on the Death Star and in the Imperial Outpost on Endor's Sanctuary Moon. Some of the towers on the Death Star can be manned by entering consoles in the Imperial hangar; the ones in the Outpost on the Sanctuary Moon can be used by entering the console at their base.